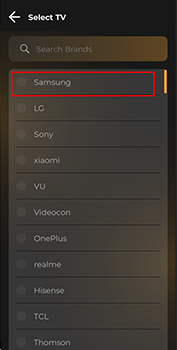
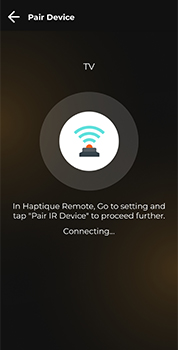
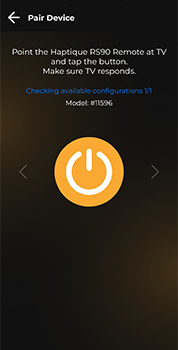
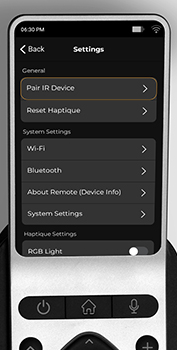
Haptique is an IoT device which needs an active internet connection not to function but to configure. Here is what you should know before attempting to configure it by yourself.
- Make sure you connect the Haptique with an active internet connection via Wi-Fi. Haptique supports dual band Wi-Fi signals so you can choose any of the available network.
- Config app is the only place where you need to register your user account. You can choose Google login/ Apple Login or conventional user id and password by following the signup process on the config app. If you are on Android the app is on Play store by the name Haptique config and same name on the iOS App Store.
- Make sure when you are ready to scan Haptique using your config app both has active internet connection.
- It is not require to be on the same WLAN network. Your smartphone app can be also via mobile internet.
- Here is the network topology for your knowledge.
Remote Control

Using the remote
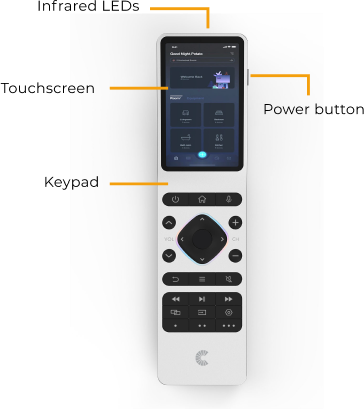
This advanced wireless remote works throughout the room without aiming it at the control console.
Buttons
Button bar 1

Three buttons for power, home and microphone signs
- The Power button is a UI power button mapped for design.
- Home Button is for multimedia homes by default.
- The microphone button works for services like Siri for Apple TV, Alexa, and Amazon Fire TV.
Button Bar 2

Three buttons for the back, hamburger and mute.
- Back button is for overall back and multimedia back command.
- Hamburger button mimics multimedia option button.
- Mute works as an audio mute command button
Cursor Buttons

- Four directional buttons to work as a cursor.
- Center button to work as enter.
Up/Down Buttons

- Mapped to change channels for the set-top box plus & minus.

- Mapped to control volume for the audio system.
Transport Bars

- Consists of 9 buttons. The top bar is for content transport.
- The second bar is Swap, Source, and Settings.
- The third bar is user-defined keys.
Functions Definitions
Haptique® has some specific controls.
Remote Button | Audio/video device |
---|---|
![]() |
Fast rewind or search reverse |
![]() |
Play/Pause |
![]() |
Fast Forward or search forward |
![]() |
Up one menu item |
![]() |
Down one menu item |
![]() |
Access to settings |
POWERING ON THE SYSTEM
Press & Hold the Power button on the right side of Haptique® for 3 seconds.
Following the power action cursor, the RGB LED will circle once the Haptique® system boots up.
The bootup animation will display on the touchscreen for 15 seconds until you see a QR code for scanning.
Note: Make sure the battery is charged so the system can boot; if you do not get any response, please connect to the support staff.
Haptique® does not support PD or power delivery charging, so use low-power USB-C-type cables or the one supplied.
POWERING OFF THE SYSTEM
Press & Hold the Power button on the right side of Haptique® for 3 seconds.
The Android menu will pop up on the touchscreen with two options. Power Off or RESTART.
You can decide and click on one of the desired choices. To power off, select the first option, and to restart, select the second option.
Shutdown animation will display on the touchscreen for 8 seconds until the screen goes off. Now Haptique® is switched off completely.
To restart your Haptique® Remote, follow these steps:
-
Locate the Power Button:
The power button is located in the top-right corner of the screen. -
Press and Hold:
Press and hold the power button until the restart menu appears on the screen. -
Select Restart:
From the menu, choose the Restart option. -
Wait for the Remote to Reboot:
The remote will power off and restart automatically. This process may take a few moments.
Your Haptique® Remote is now restarted and ready to use.
How to Charge
Use the supplied charger to connect with the dock or directly to the RS90. It supports the fast PD chargers also. We recommend using the supplied or 20 watts power adapter.
If you face issues like overheating while charging or slow charging please do not use that charger.
Settings
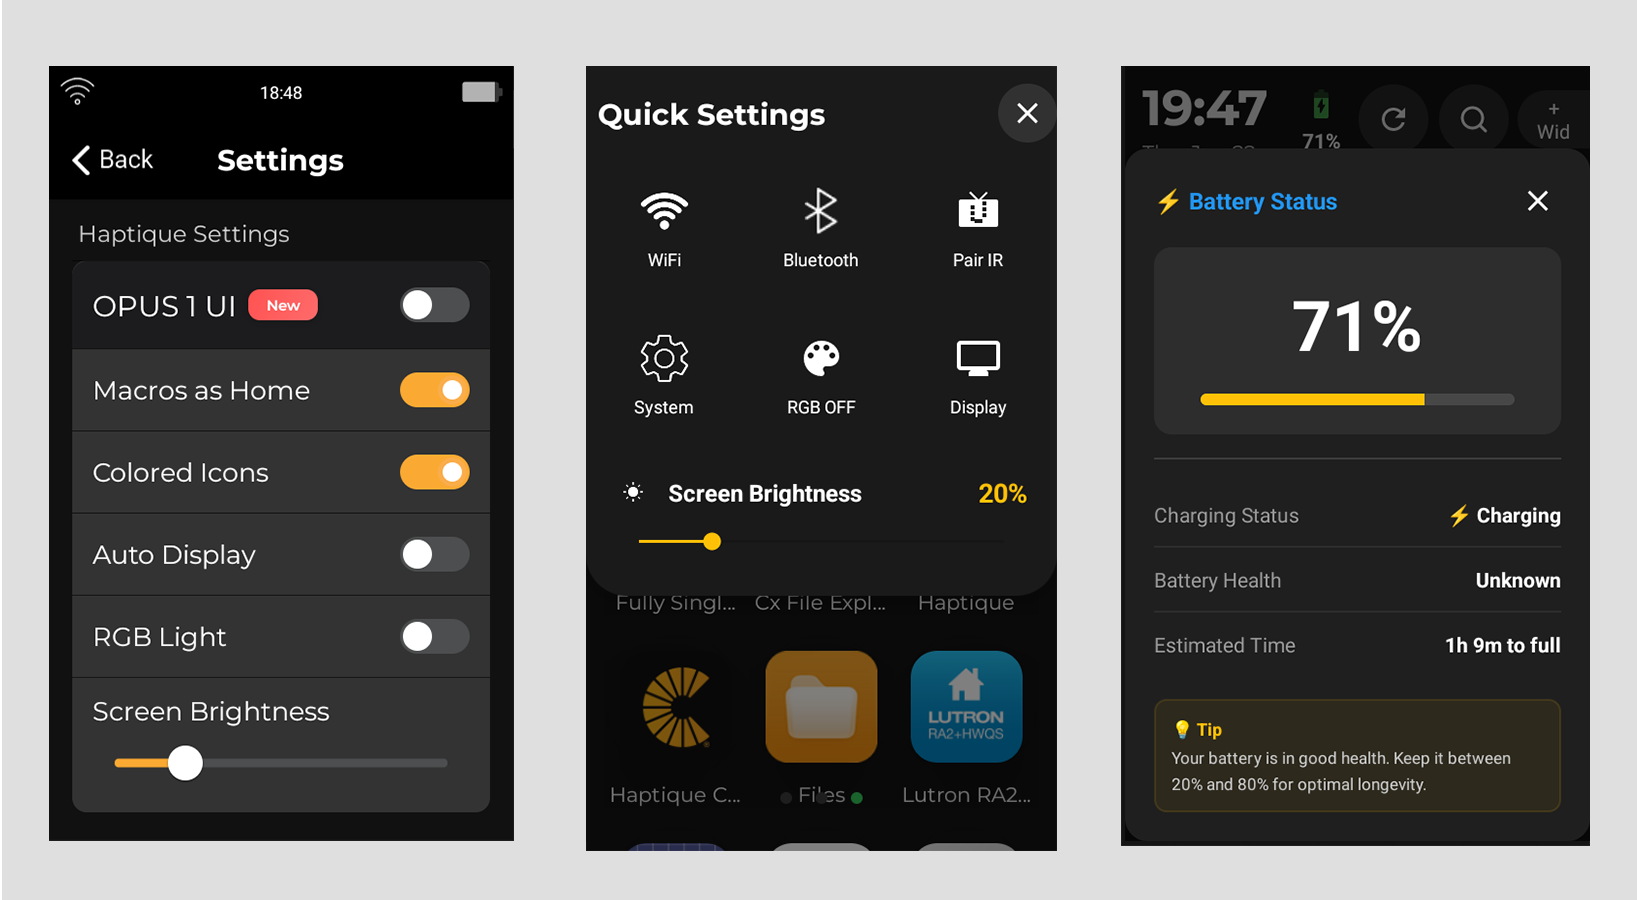
Access the setting page by clicking on (gear) icons available on top right on the touchscreen.
Using Bluetooth wireless technology
You can access Bluetooth wireless technology on Haptique® and you can use remote to control a subset of Bluetooth features on your system.
Select Bluetooth from the settings. Pair and connect Bluetooth devices.
Cleaning
Cleaning and Maintenance Guidelines
To ensure the longevity and optimal performance of your device, please follow these cleaning instructions:
- For Exterior Surfaces and Touchscreen:
- Use a soft, dry cloth to gently wipe the outer surfaces and touchscreen.
- You may lightly vacuum the charging point to remove dust and debris.
- Use a soft, dry cloth to gently wipe the outer surfaces and touchscreen.
- What to Avoid:
- DO NOT use solvents, chemical sprays, or household cleaners on the charging points or any part of the device, as they can cause damage.
- DO NOT use abrasive or harsh materials to clean the touchscreen, as they may scratch or degrade the surface.
- DO NOT use solvents, chemical sprays, or household cleaners on the charging points or any part of the device, as they can cause damage.
- General Safety Tips:
- Keep the device away from water or damp environments to avoid damage.
- Avoid installing the device near heat sources such as radiators, stoves, heat registers, or other equipment that generates heat.
- Keep the device away from water or damp environments to avoid damage.
By following these instructions, you can maintain your device’s performance and appearance over time.
Customer service
For additional help using the system.
- Visit www.support.cantatacs.com
- Contact Cantata customer service. Refer to the contact sheet in the carton for additional information.
Limited warranty
Your Haptique® system is covered by 3-limited warranties. Details of the limited warranties are provided on the product registration.
Technical information
Processor | QUAD CORE ARM CORTEX A7 |
Memory | 3 GB |
Flash | 16 GB |
WIFI | 2.4Ghz & 5 Ghz |
Bluetooth | Bluetooth 5.0 + BLE |
Battery | 2000mAh |
Display | 3.1" LCD Capacitive Touch, 480 X 800 pixels |